Setup Wise Webhooks for all Transactions (not just transfers)
Wise lets you set up webhooks directly on your profile. This is a nice feature, but it's limited to events related to transfers. Specifically:
- Transfer update events
- Balance deposits events
- Transfer issue event
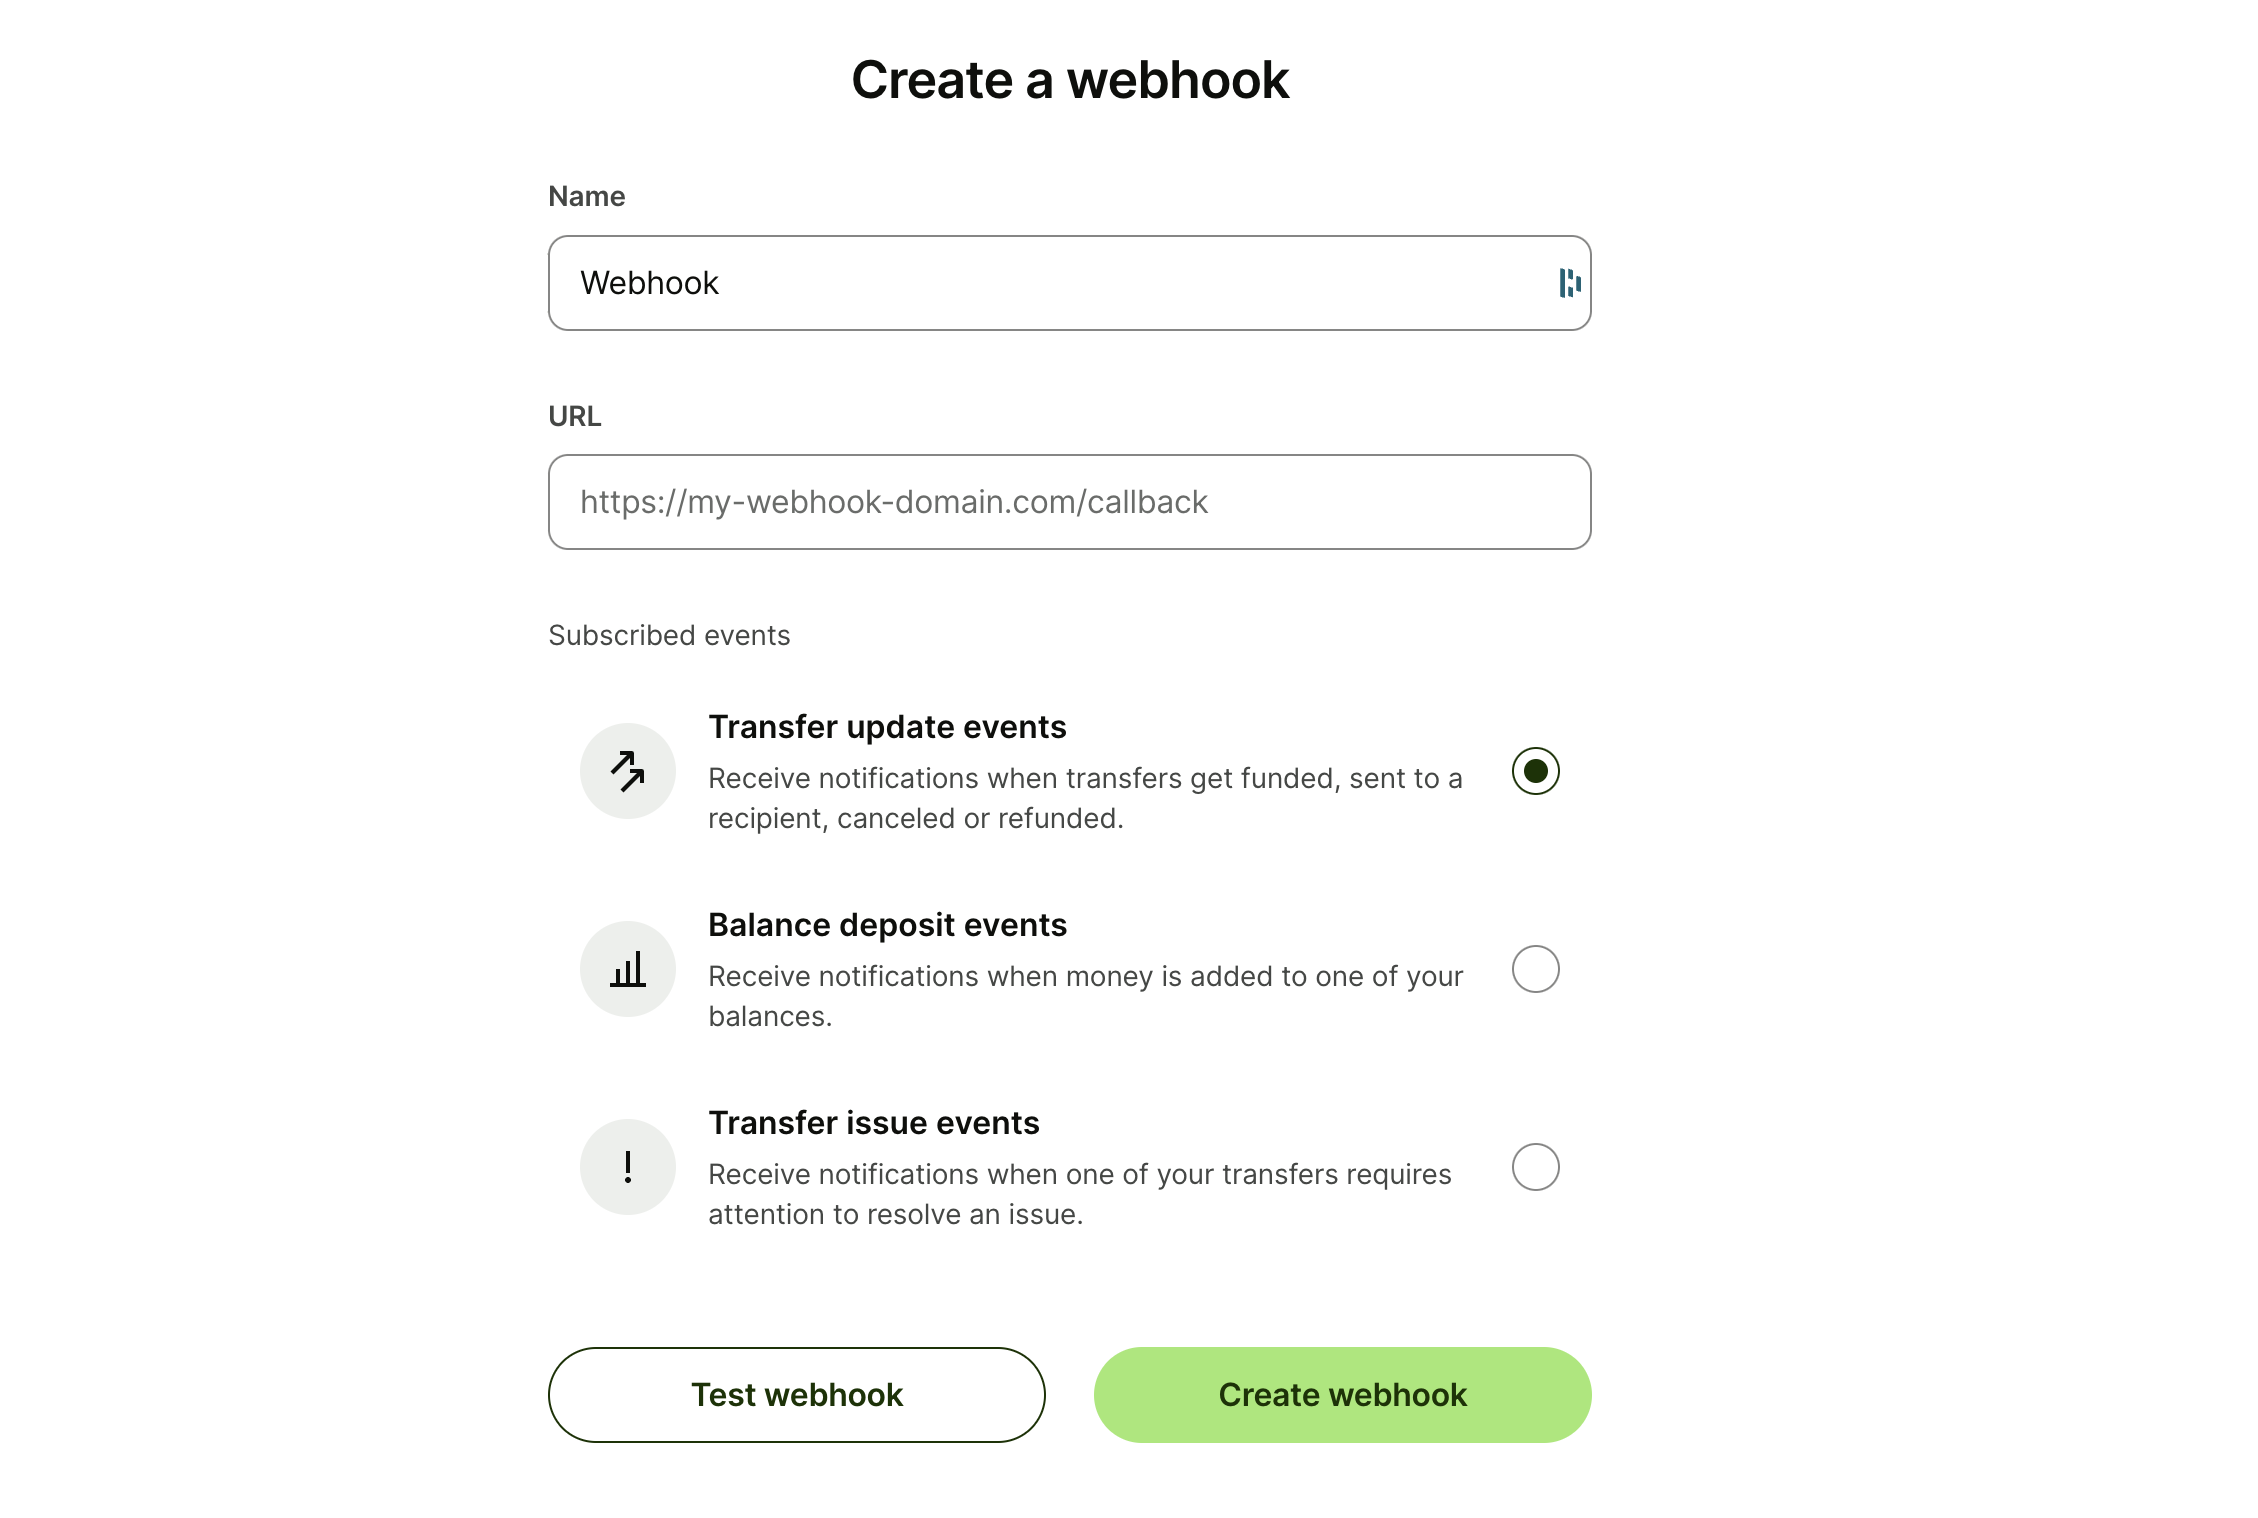
There is no way to set up webhooks for other events. For example, in our case, we would like to get notified for each transaction, not just transfers. Fortunately, this is possible, but not directly in the Wise dashboard.
Setup Wise Webhooks for all Transactions
To do this, we will need to use the Wise API:
- You need to create a Wise API key. You can create it in the Wise dashboard, in your account settings, in the "Integrations and tools" section (where you can also set up webhooks for transfers), then under "API tokens".
- Once you have the API key, you need to send a request to create a new Profile Webhook Subscription using the
/v3/profiles/{{profileId}}/subscriptionsendpoint. We will detail how to get your profile ID in the next section. - On the
trigger_onfield, you need to use any of the available events for Profile Subscriptions. The full list is available here, you need to make sure that the event supports Profile subscriptions. In our case, we will use the balances#update event that is triggered whenever the balance of the account is updated. - Depending on the event that you want to subscribe to, you may need to change the
versionfield based on the kind of response you expect. It should be detailed in the API documentation for the event you are subscribing to.
curl -X POST "https://api.transferwise.com/v3/profiles/{{profileId}}/subscriptions" \
     -H "Authorization: Bearer <your API token>" \
     -H "Content-Type: application/json" \
     -d '{
          "name": "Webhook Balance Update",
          "trigger_on": "balances#update",
          "delivery": {
            "version": "3.0.0",
            "url": "https://your.webhook.url/handle"
          }
}'NOTE: When creating a new webhook subscription, Wise will send a test event to make sure your endpoint can handle the request. It expects a 200 response code.
- You can verify that your webhook was correctly set up by sending a request to the
/v3/profiles/{{profileId}}/subscriptionsendpoint.
curl -X GET "https://api.transferwise.com/v3/profiles/{{profileId}}/subscriptions" \
     -H "Authorization: Bearer <your API token>"
How to get your Wise Profile ID
As you can see in the above request, you need to provide the profileId in the request. You can get it by sending a request to the /v2/profiles endpoint.
curl -X GET "https://api.transferwise.com/v2/profiles" \
     -H "Authorization: Bearer <your API token>"
This will return a list of the profiles accessible with the API key. Most likely, you will have one personal profile, and one business profile.
[
  {
    "id": 0001,
    "publicId": "...",
    "userId": 0001,
    "type": "PERSONAL",
    ...
  },
  {
    "id": 0002,
    "publicId": "...",
    "userId": 0002,
    "type": "BUSINESS",
    ...
  }
]
The profileId is the id field returned by this request.
Thank you for reading! If you have any questions or feedback, please feel free to contact us at hi@davette.ca.